Thank You For Growing With Us

After an incredible journey, Annaboto has stopped operations. But your grow doesn't have to stop. We built something special, and we want to make sure you can keep growing for as long as your Annaboto runs.

Your Annaboto should continue to work as expected. Make sure your machine has the latest software update and that you have the latest version of the app installed for cloud-less functionality.

Below you'll find everything you need to maintain your machine, build your own nutrient cartridges, replace grow pod components, and troubleshoot any issues — all on your own terms.

Your Annaboto Still Works Update to Latest App DIY Resources Below
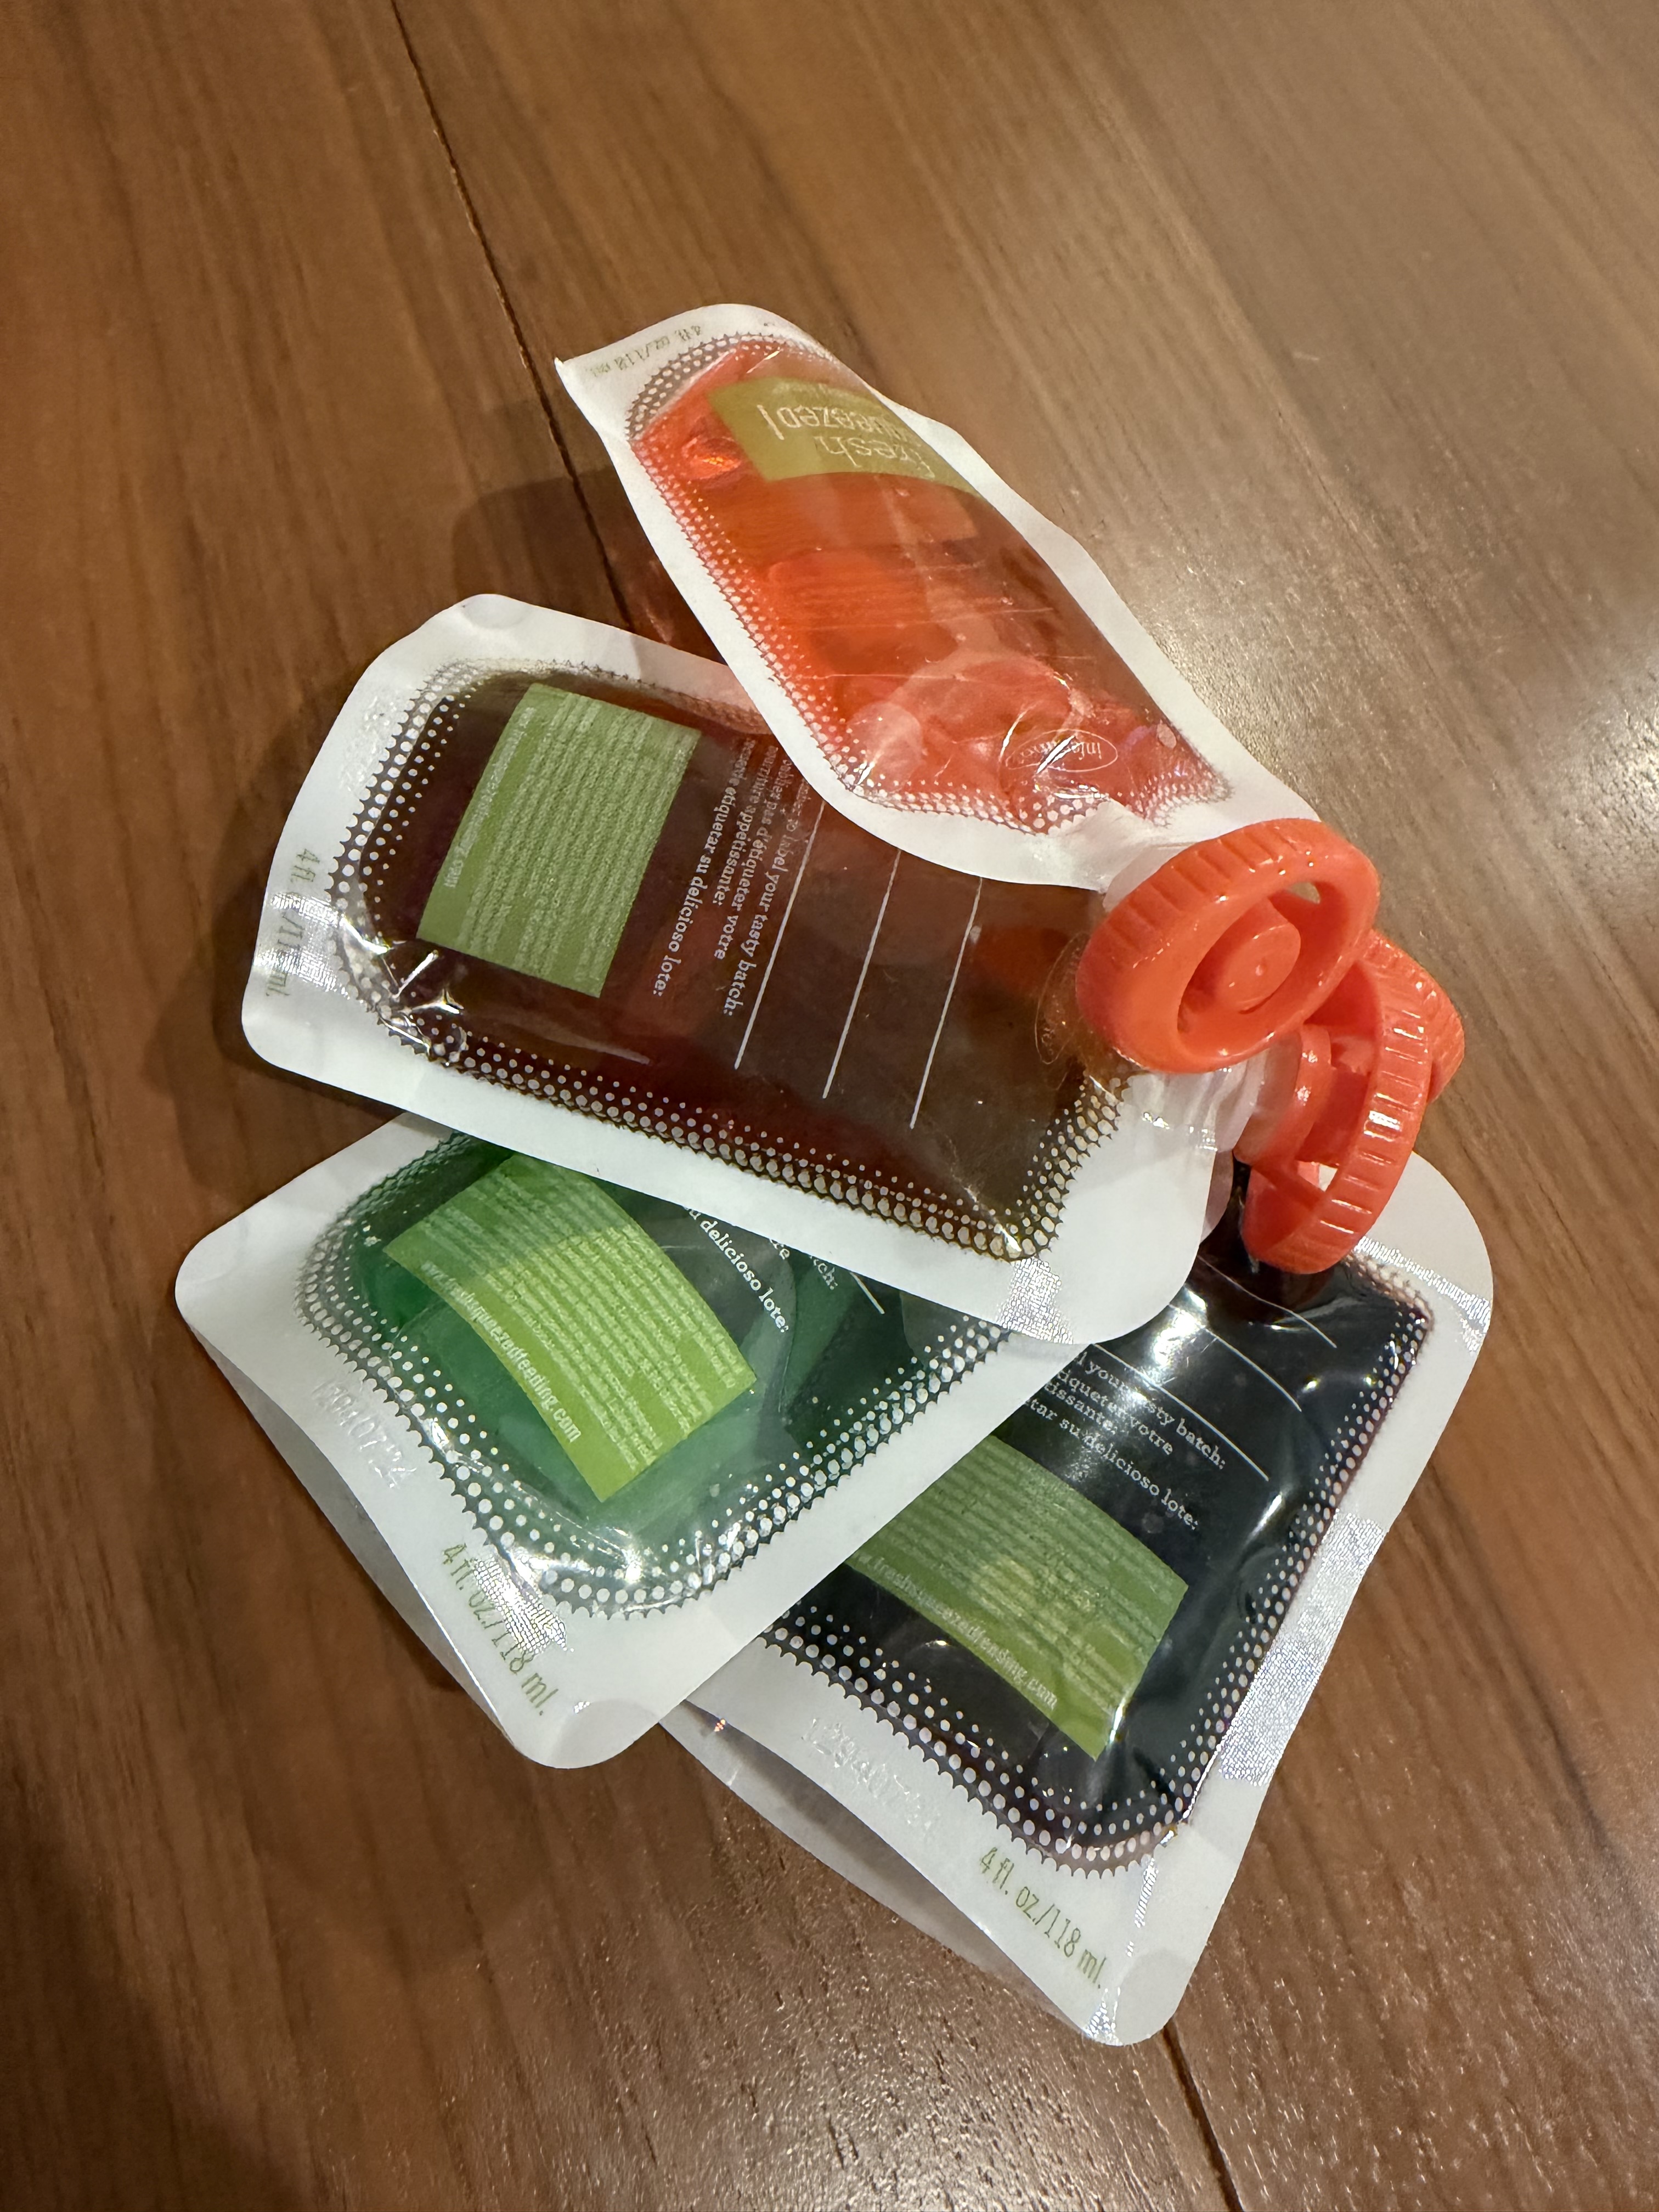
Build Your Own Nutrient Cartridge

Keep your grows going with DIY cartridges. Everything you need — instructions, parts, and 3D-printable files.

📋

Instructions

Step-by-step guide to assembling your own nutrient cartridge.

  1. Fill a pouch with approximately 100 ml of Flora Bloom and then use the cap that comes with the pouches to close the pouch. Set aside.
  2. Repeat for Micro, Grow, and CalMag nutrients so that each of the 4 pouches has 100 ml of each of the 4 nutrients. Step 2 - Four pouches filled with nutrients
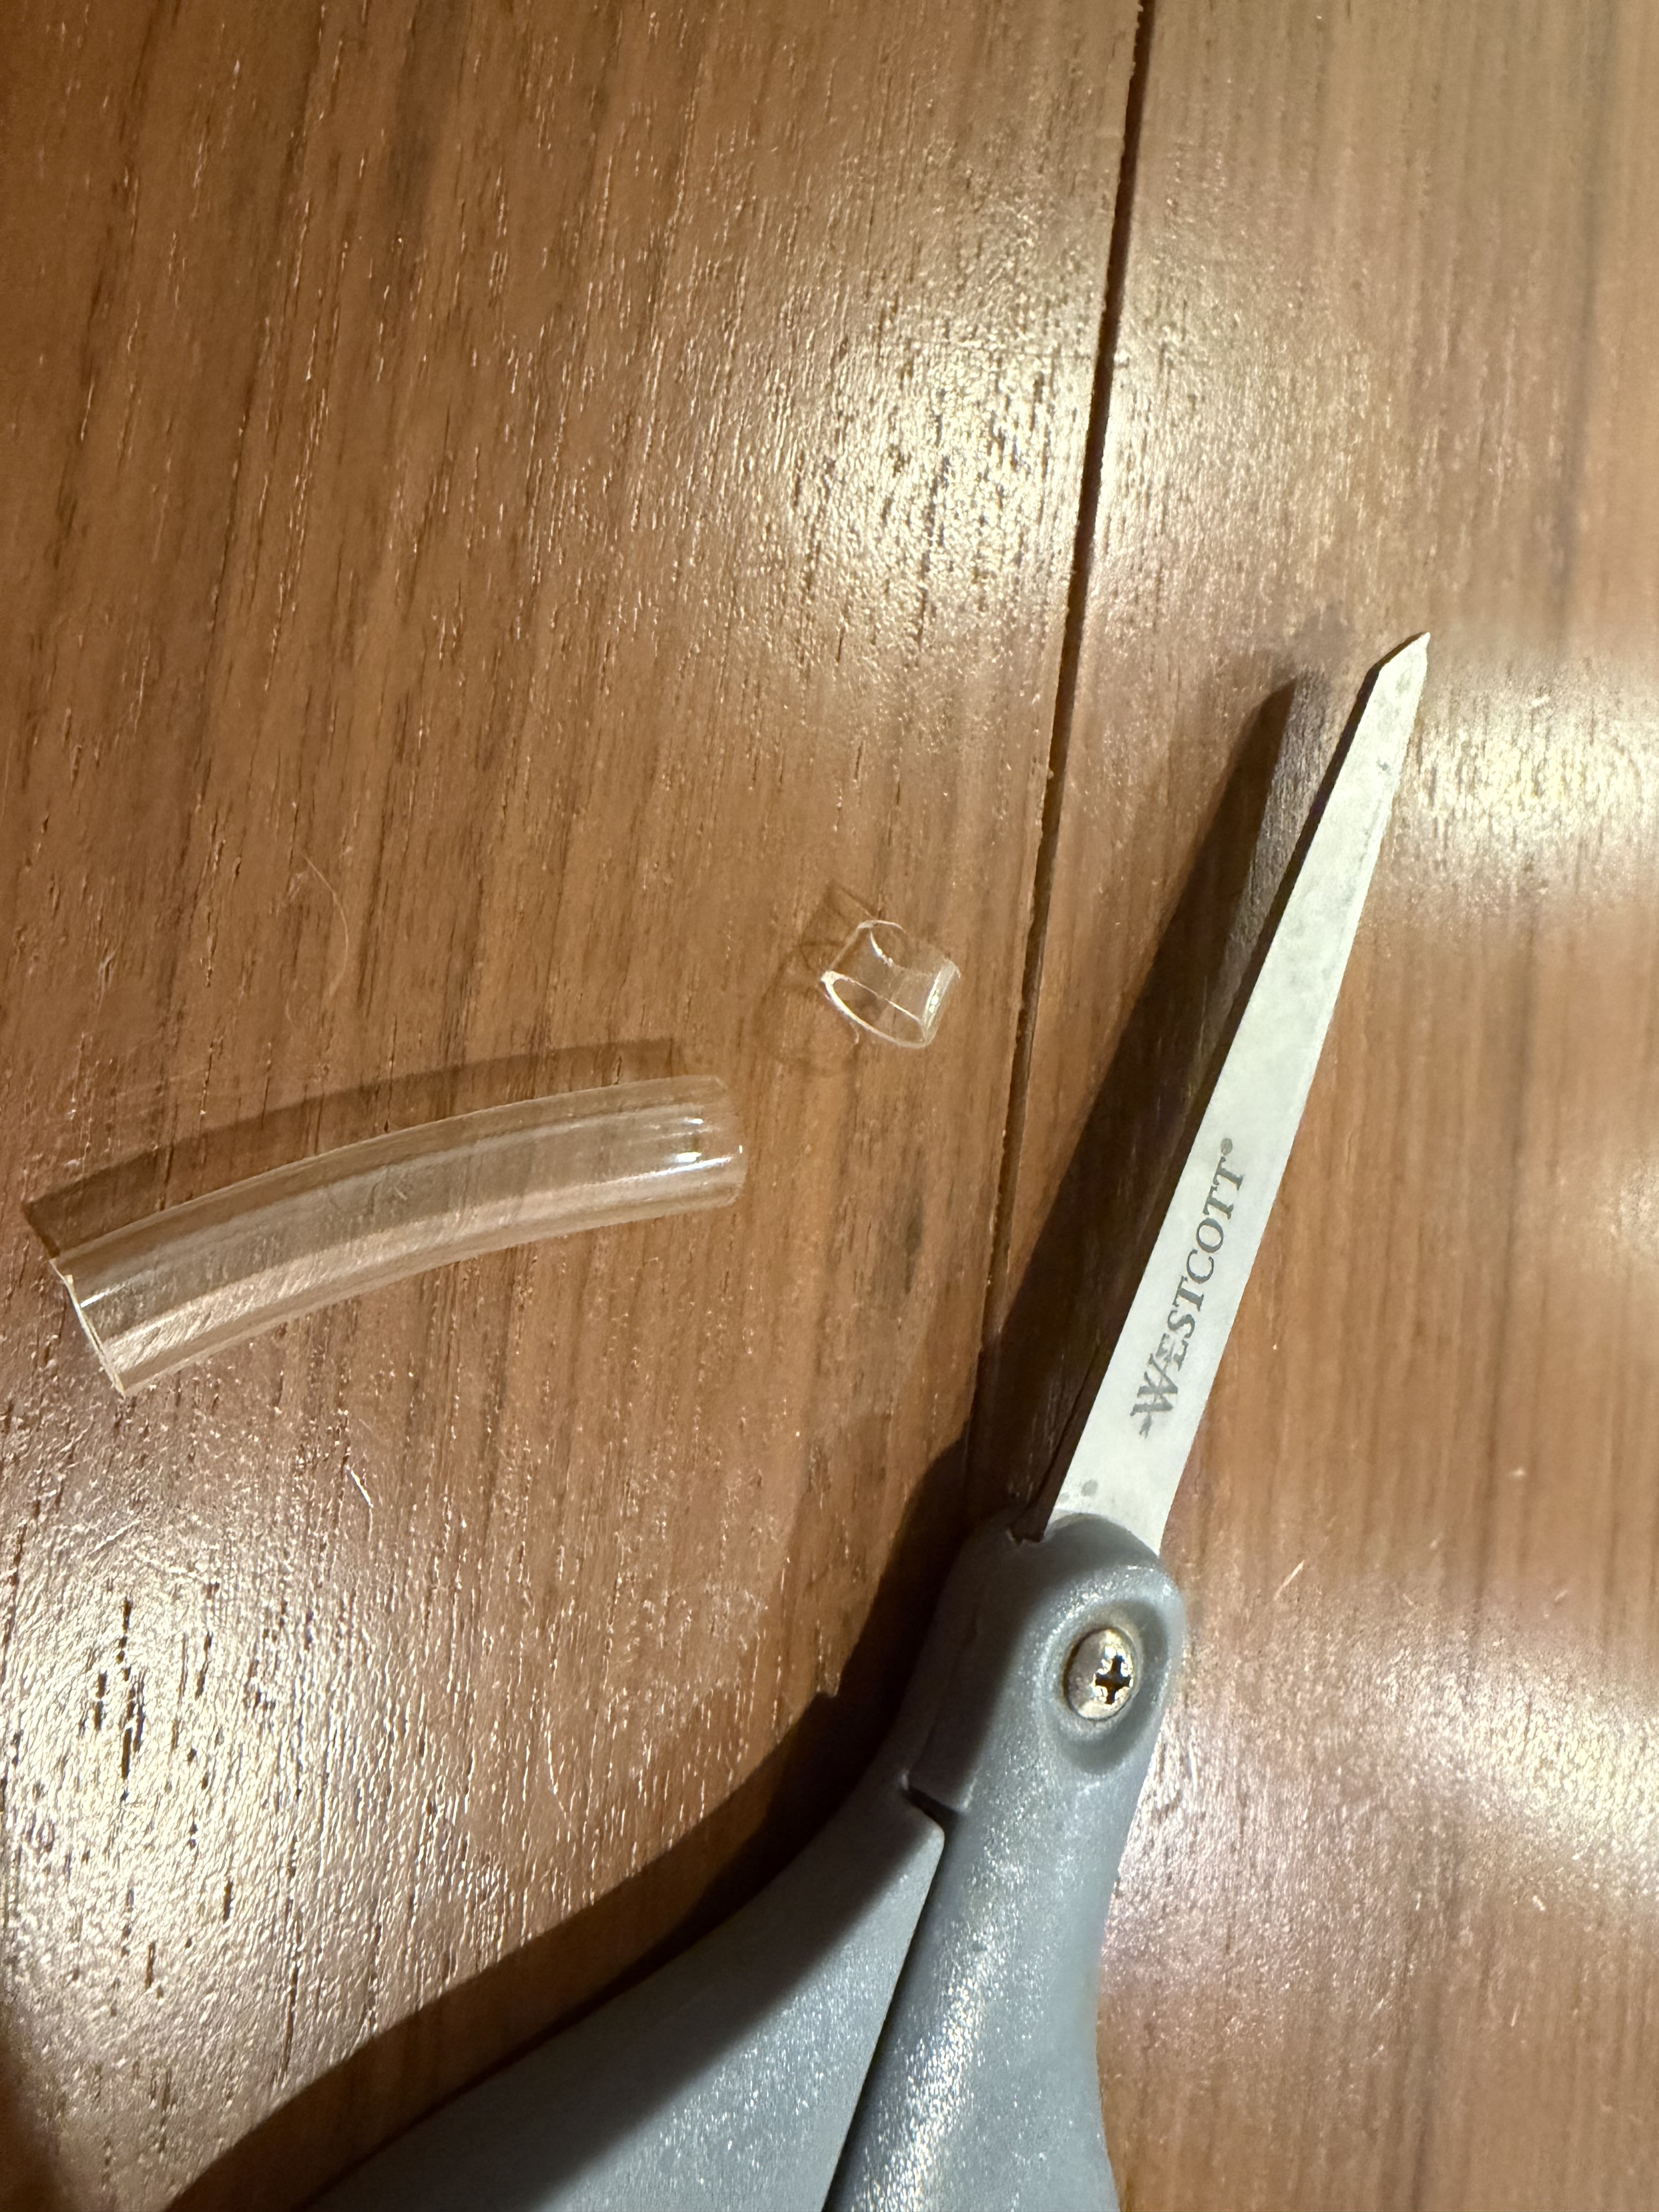
  3. Cut the tubing to roughly 1/4 of an inch. Step 3 - Cut tubing to size
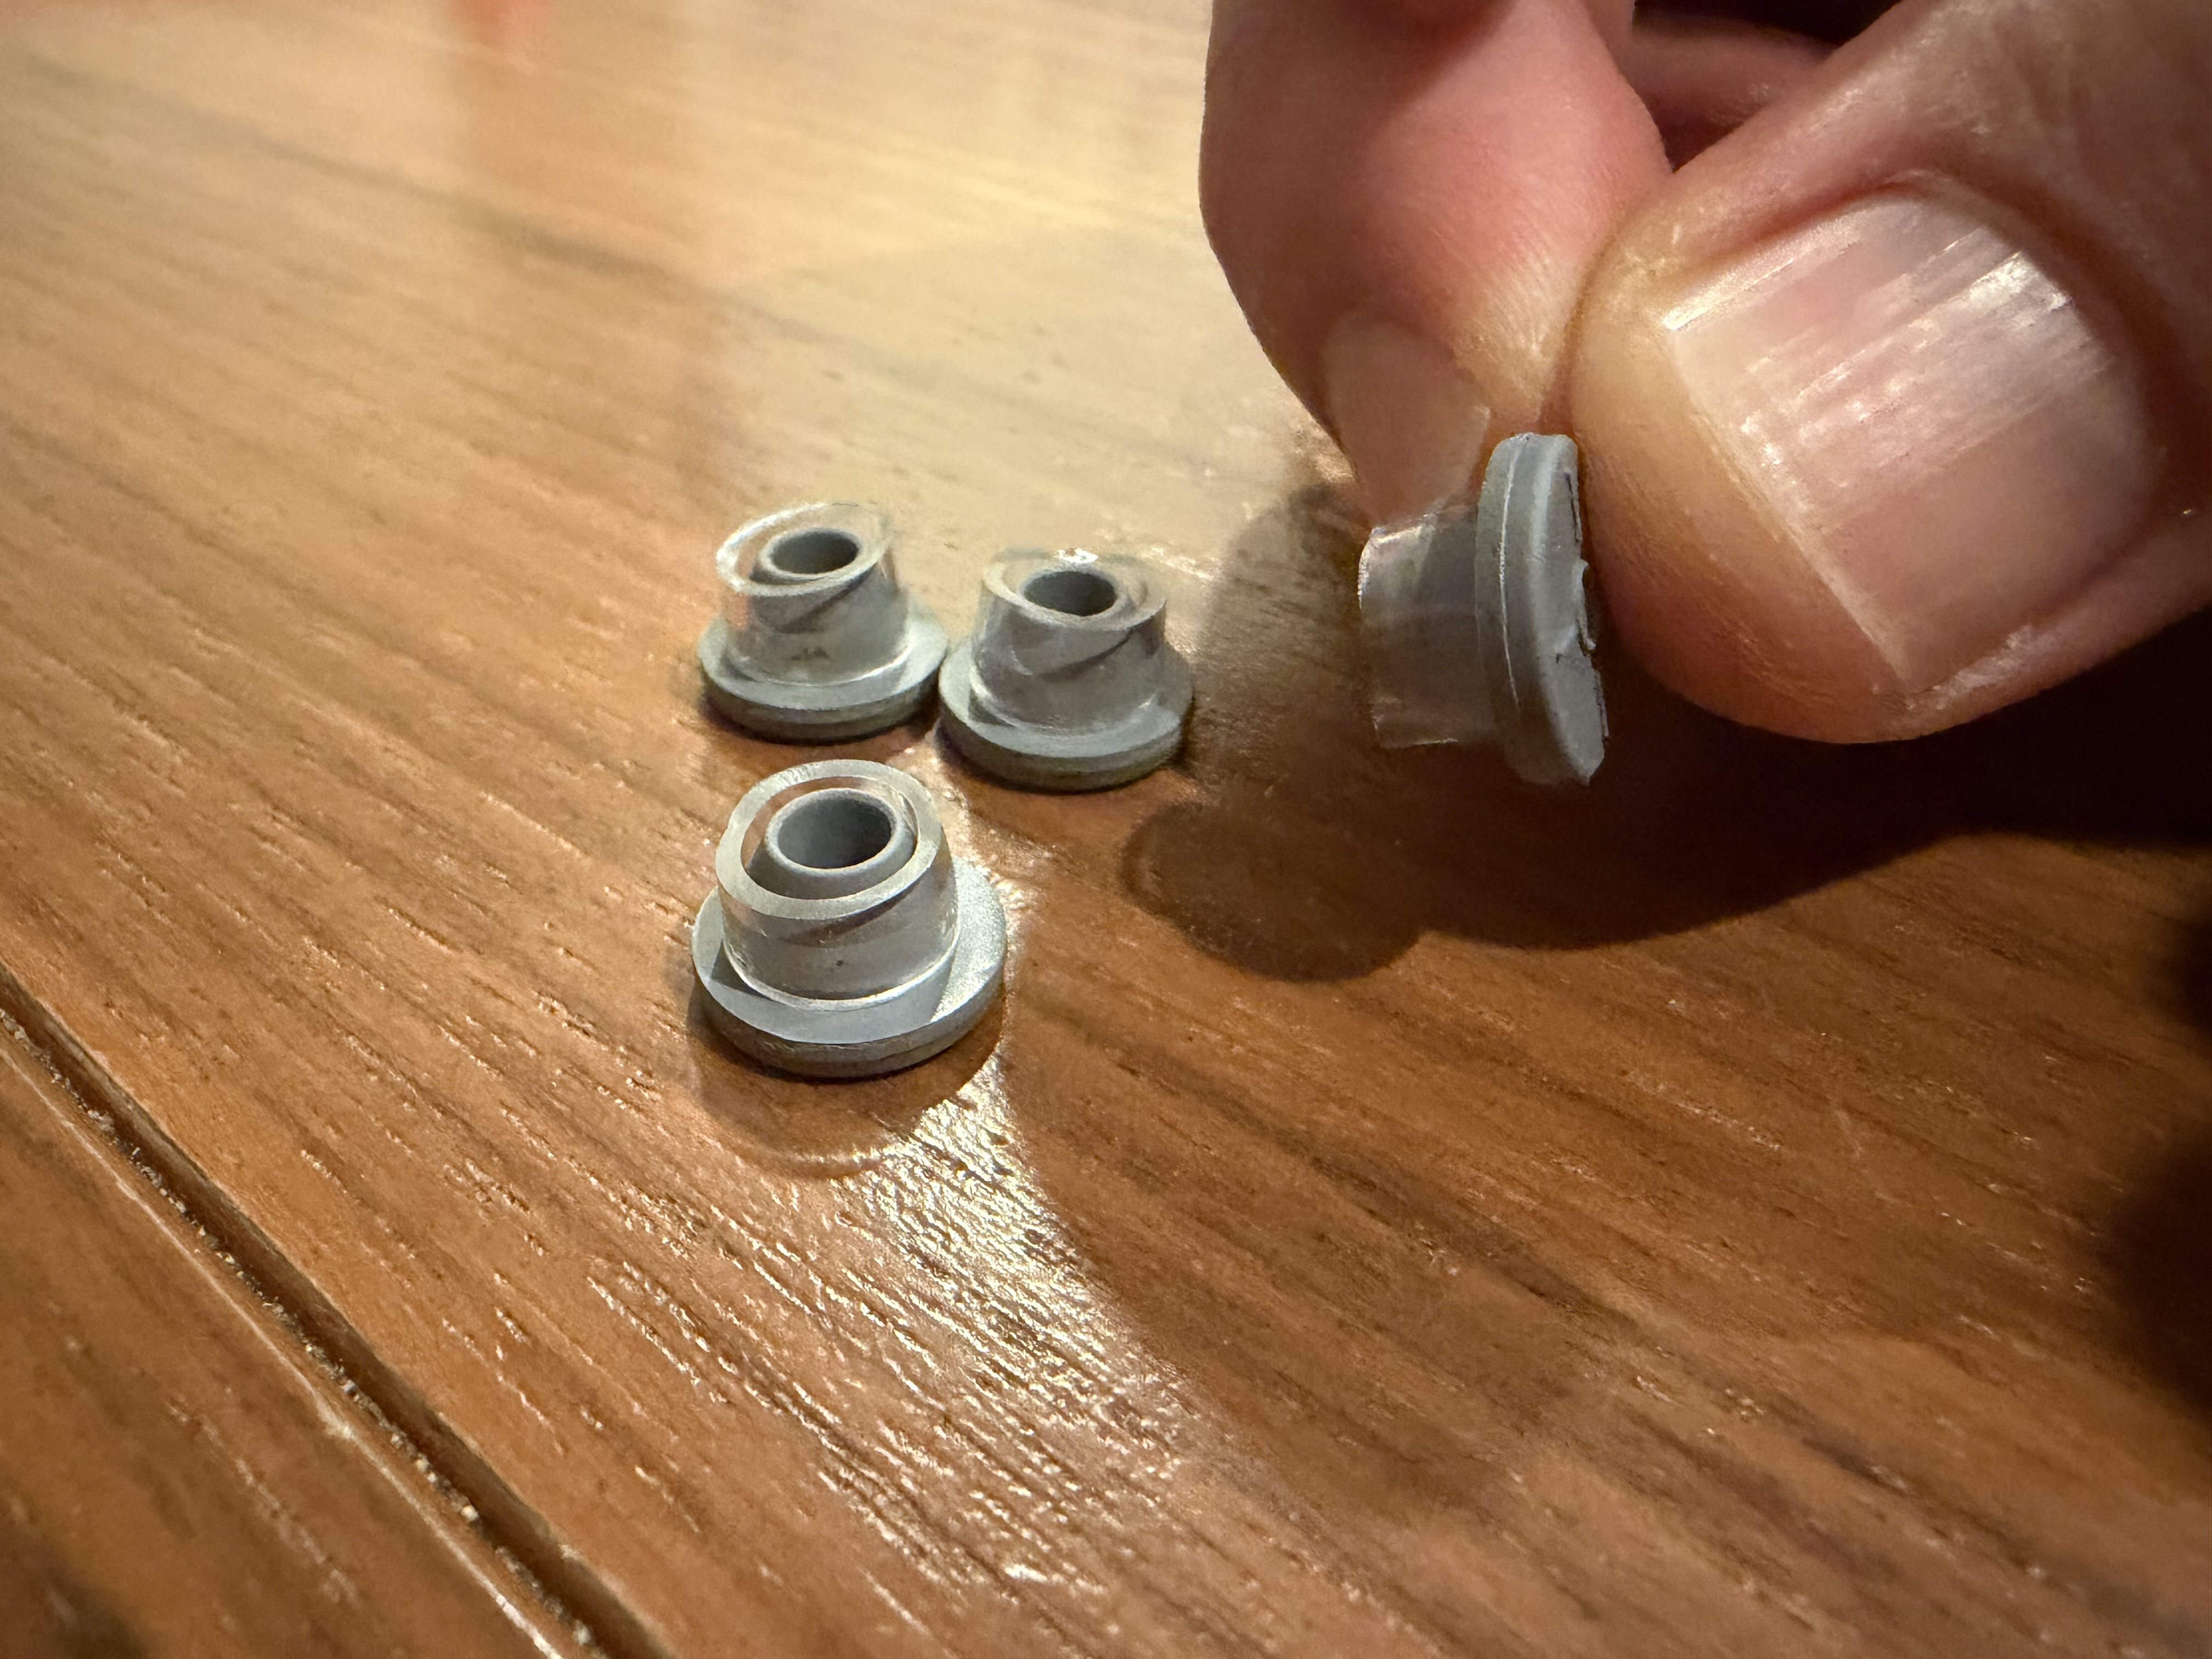
  4. Insert a Rubber Stopper into the tubing length to use the tubing as a sleeve. Step 4 - Rubber stopper inserted into tubing
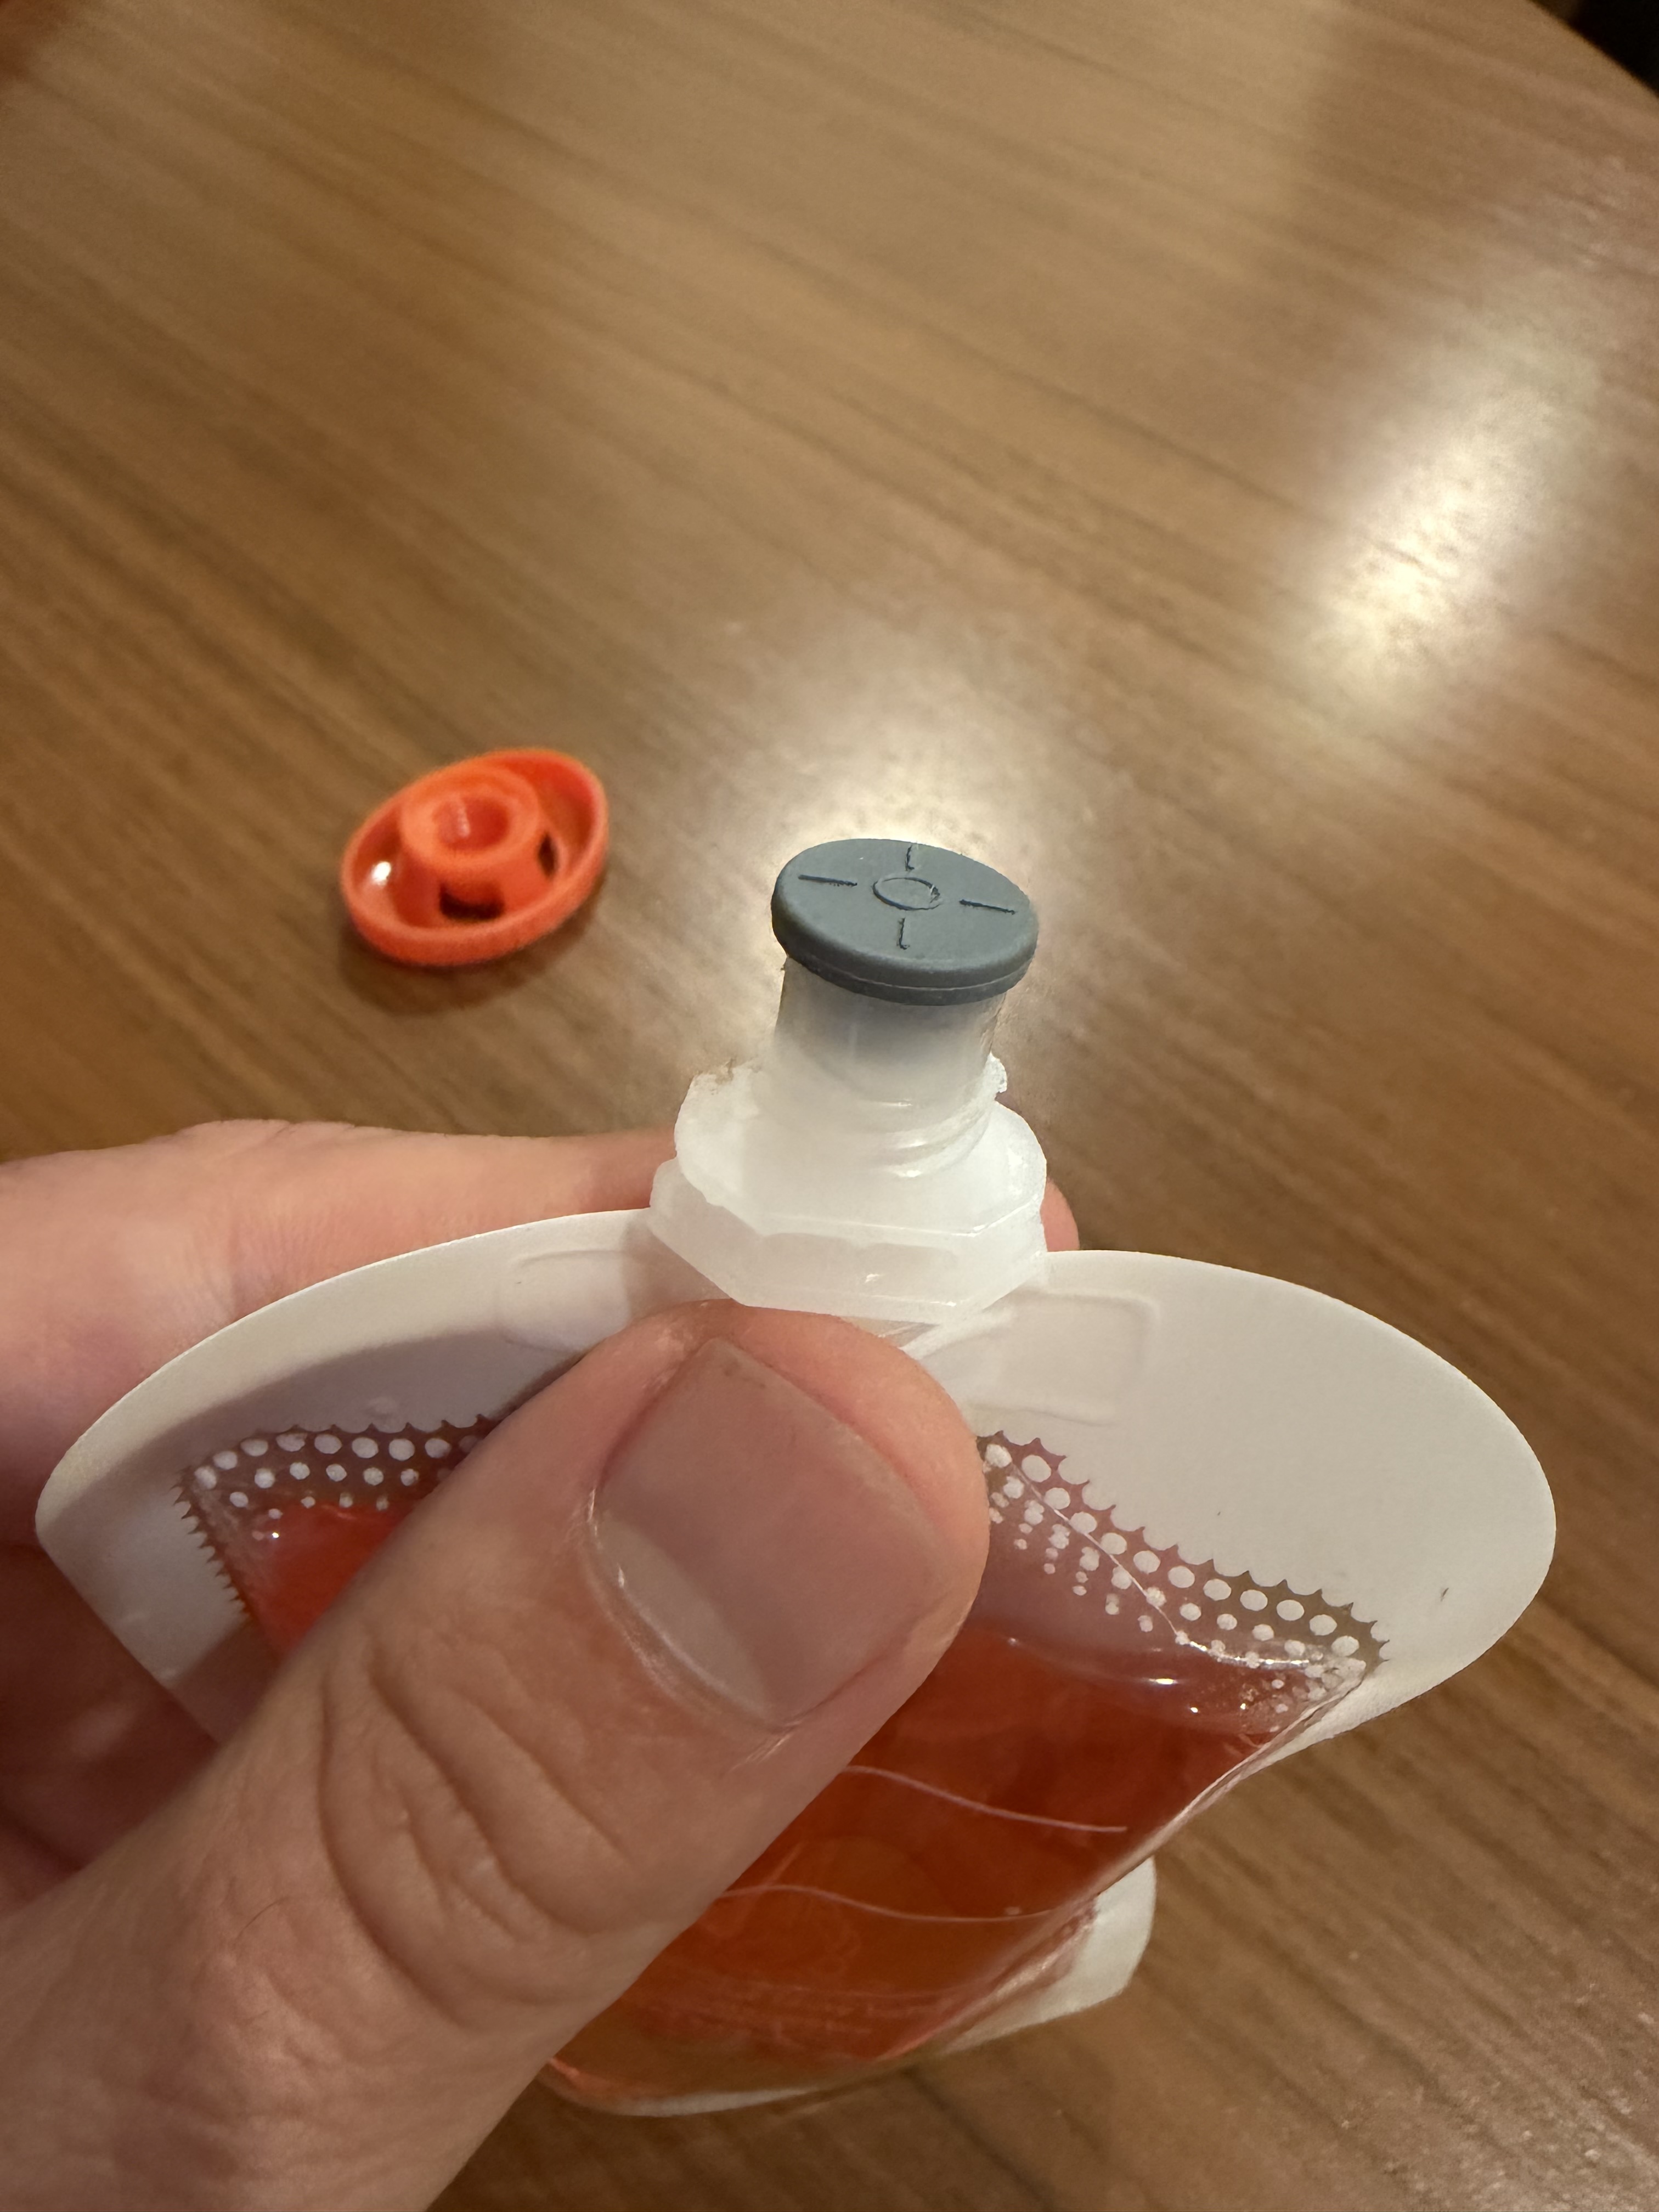
  5. Open the pouches by removing the caps and insert the Rubber Stopper with Sleeve. Step 5 - Insert stopper with sleeve into pouch
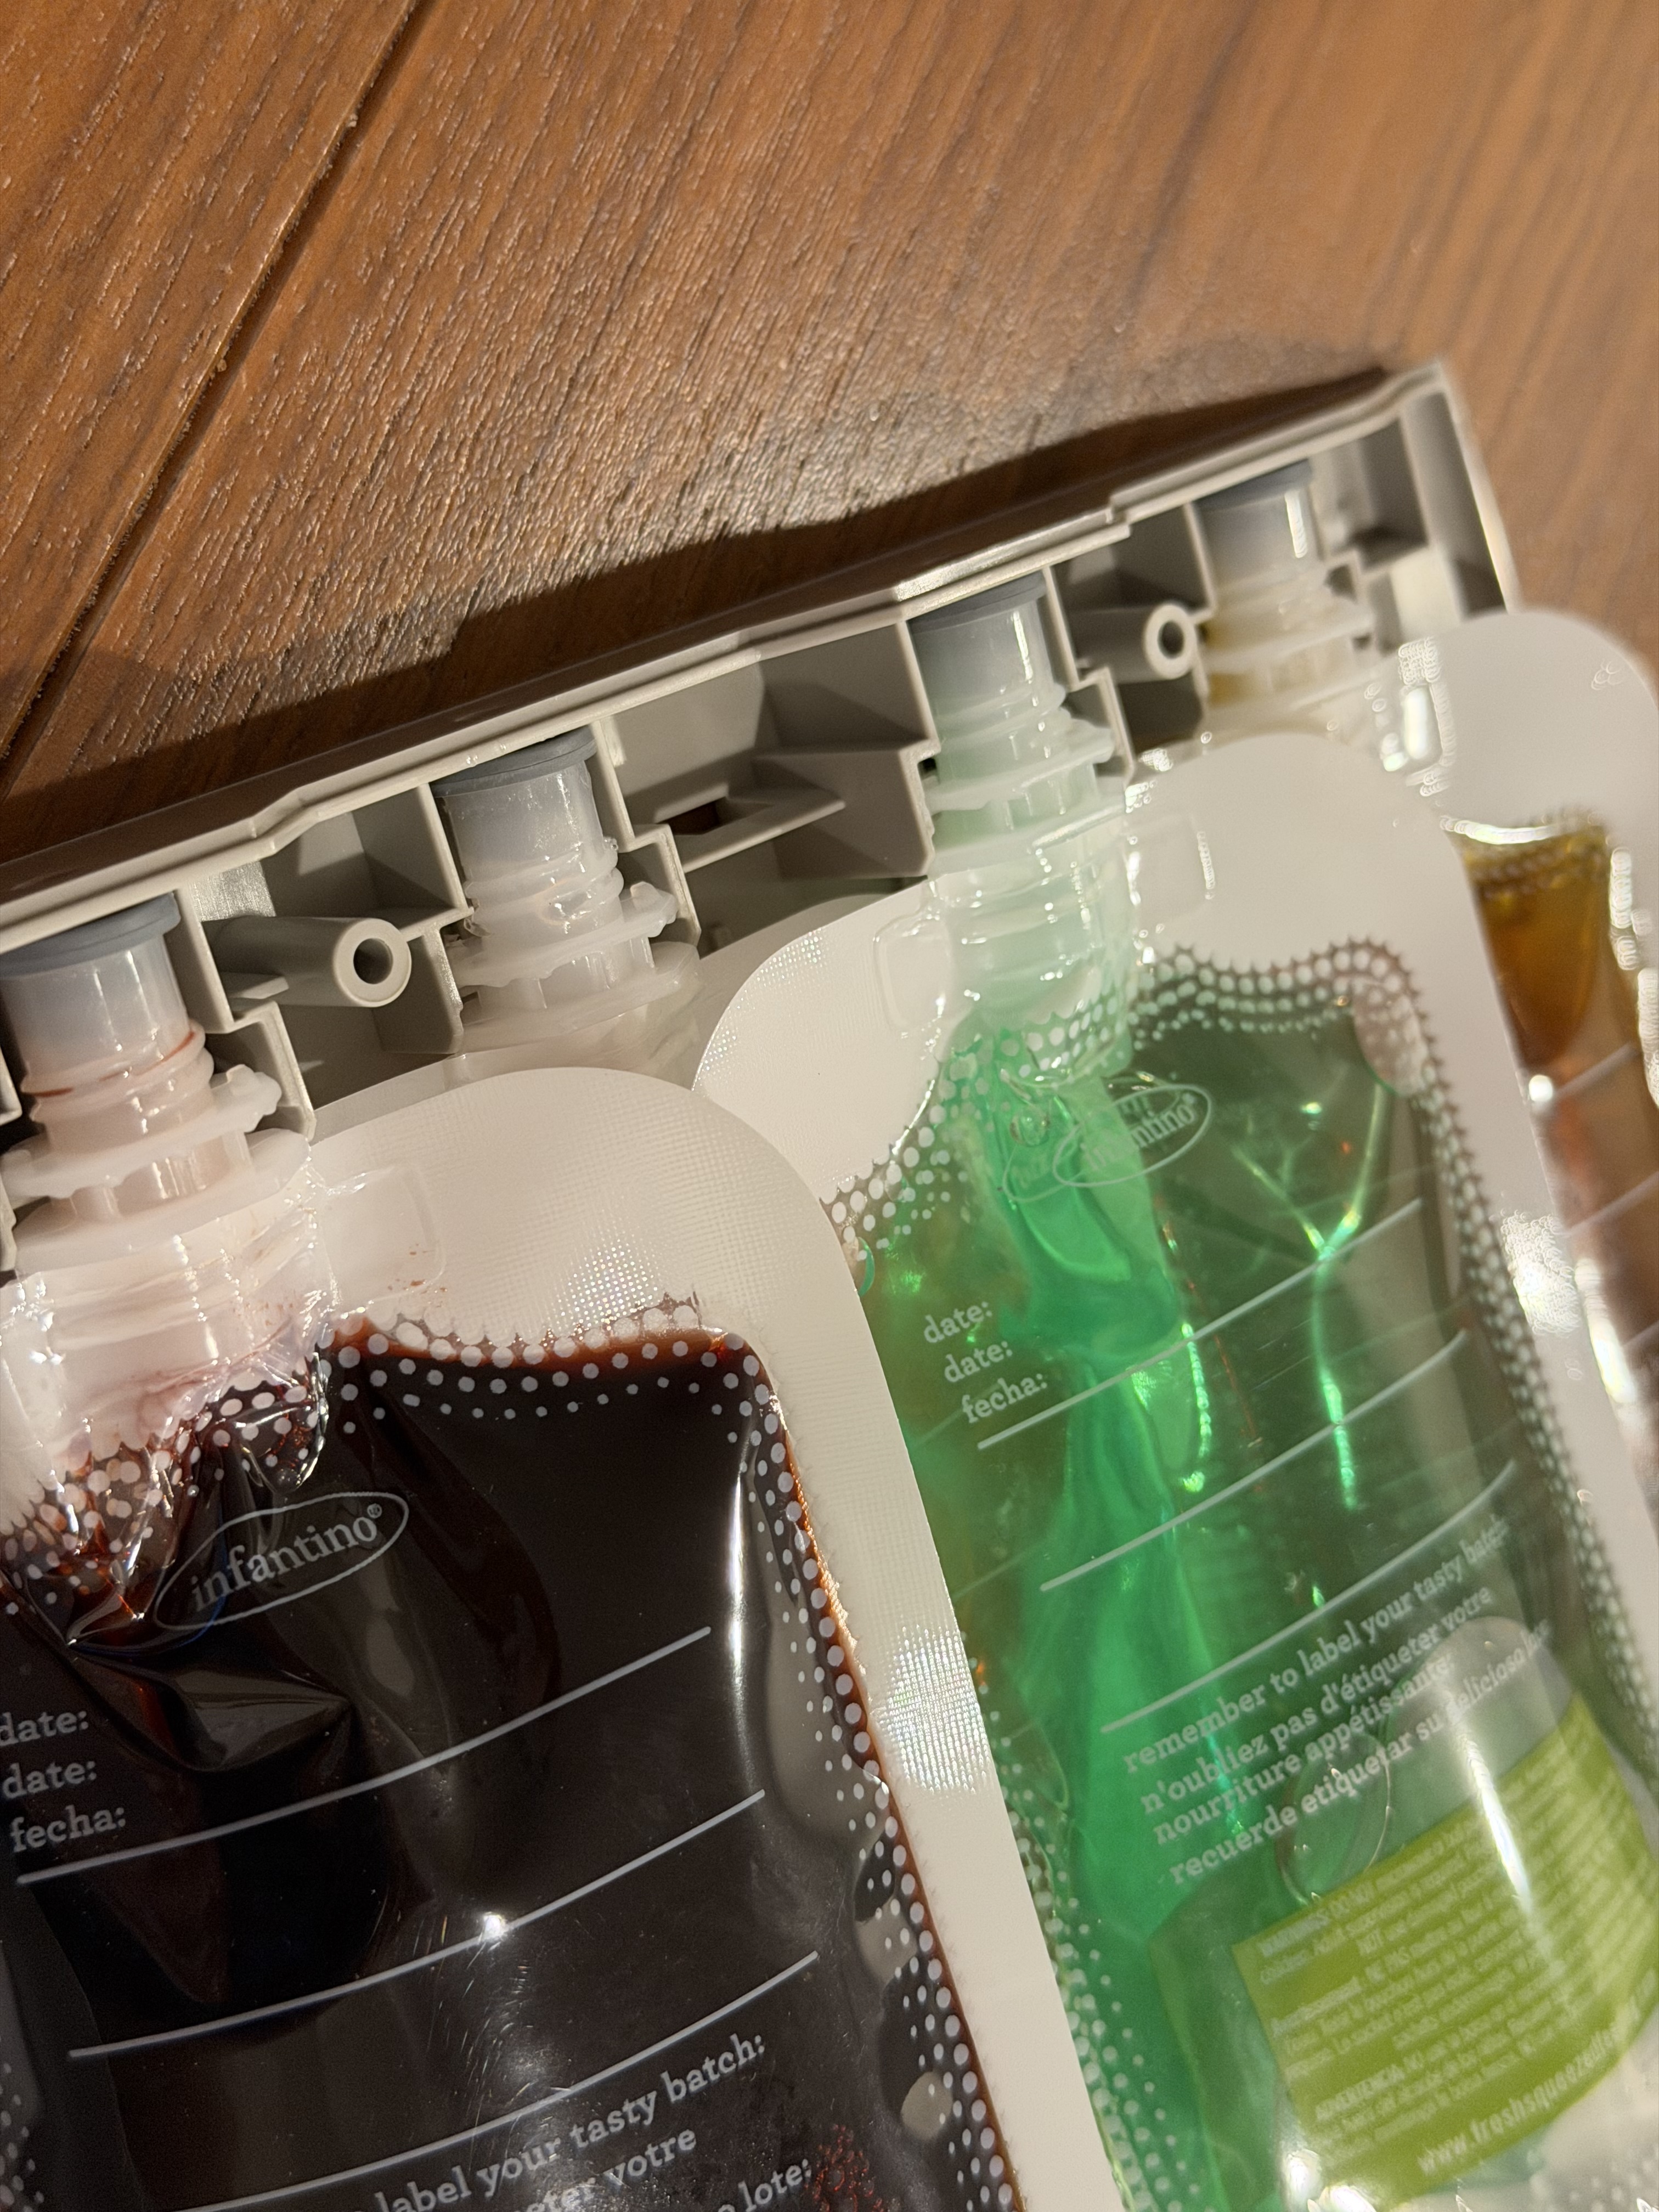
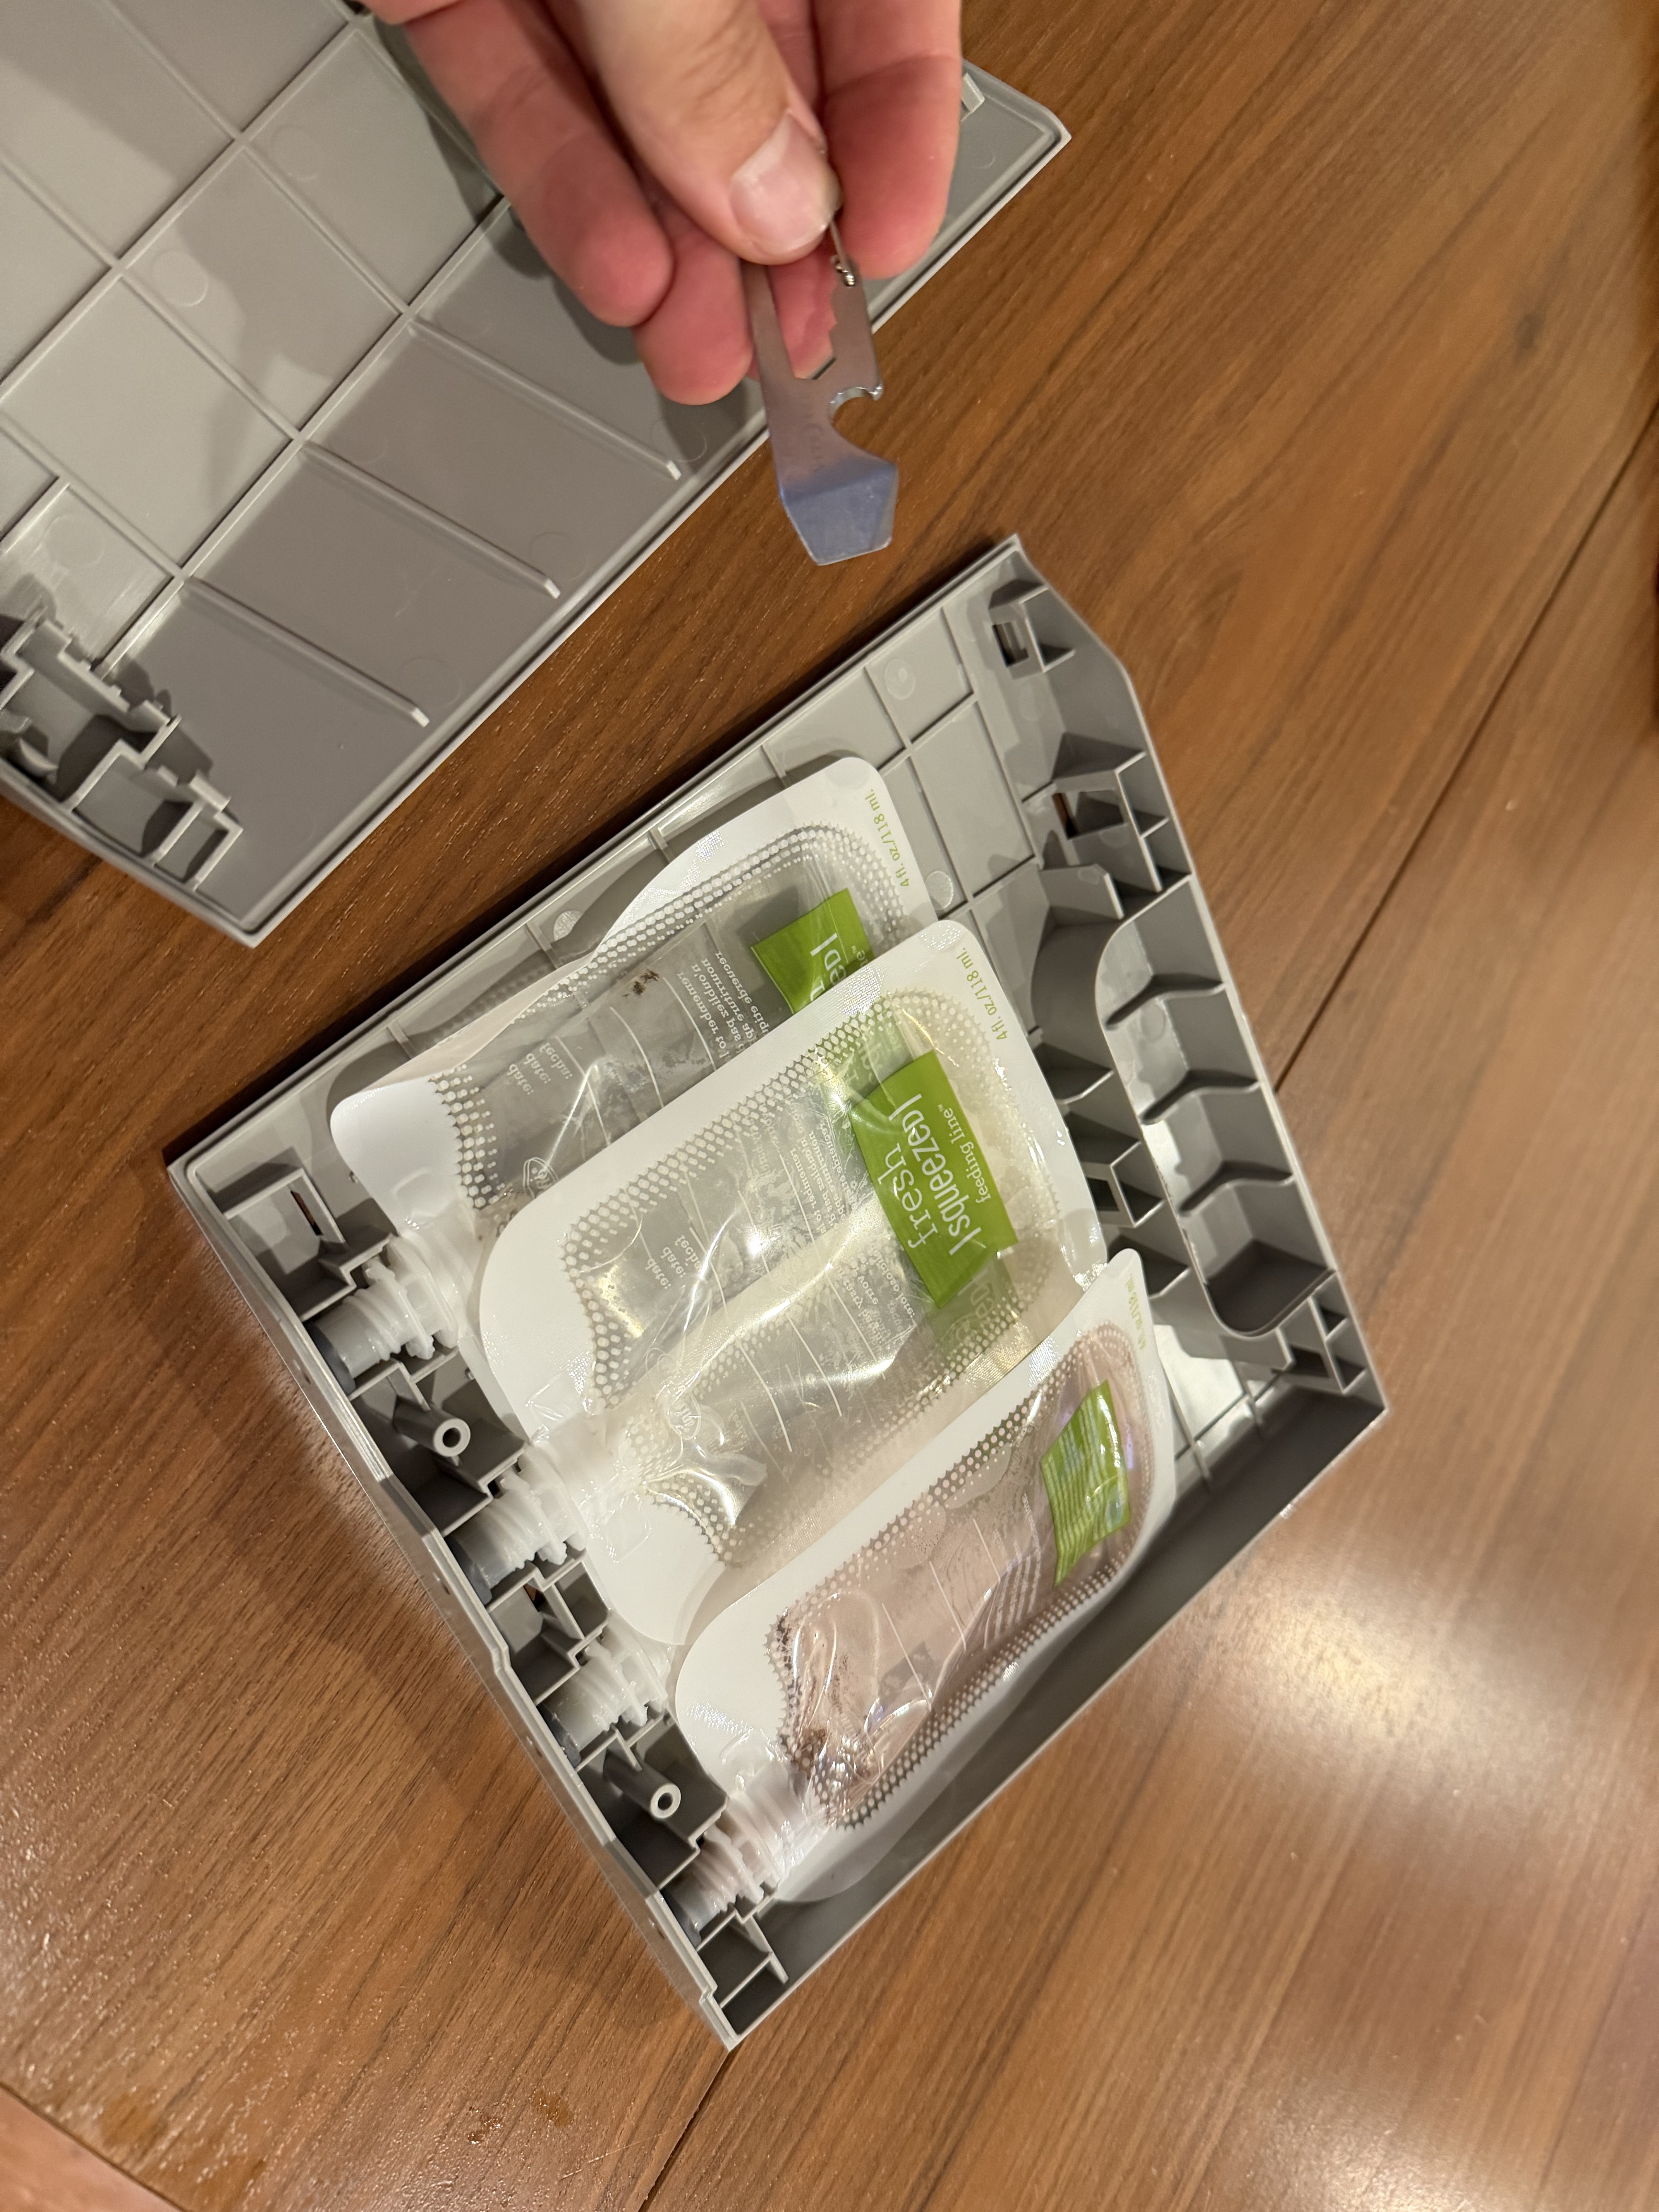
  6. Insert the pouches into the Cartridge as displayed in the PDF Design Drawing. Start with the two in the bottom followed by the two on the top. Step 6 - Insert pouches into cartridge
  7. Make sure the circles on the Rubber Stopper are visible on the holes of the cartridge. If not, align carefully. Step 7 - Verify rubber stopper alignment
  8. Tuck the outer pouches, and assemble the other Cartridge part.
  9. Press firmly on the clipping points so the cartridge gets fully assembled.
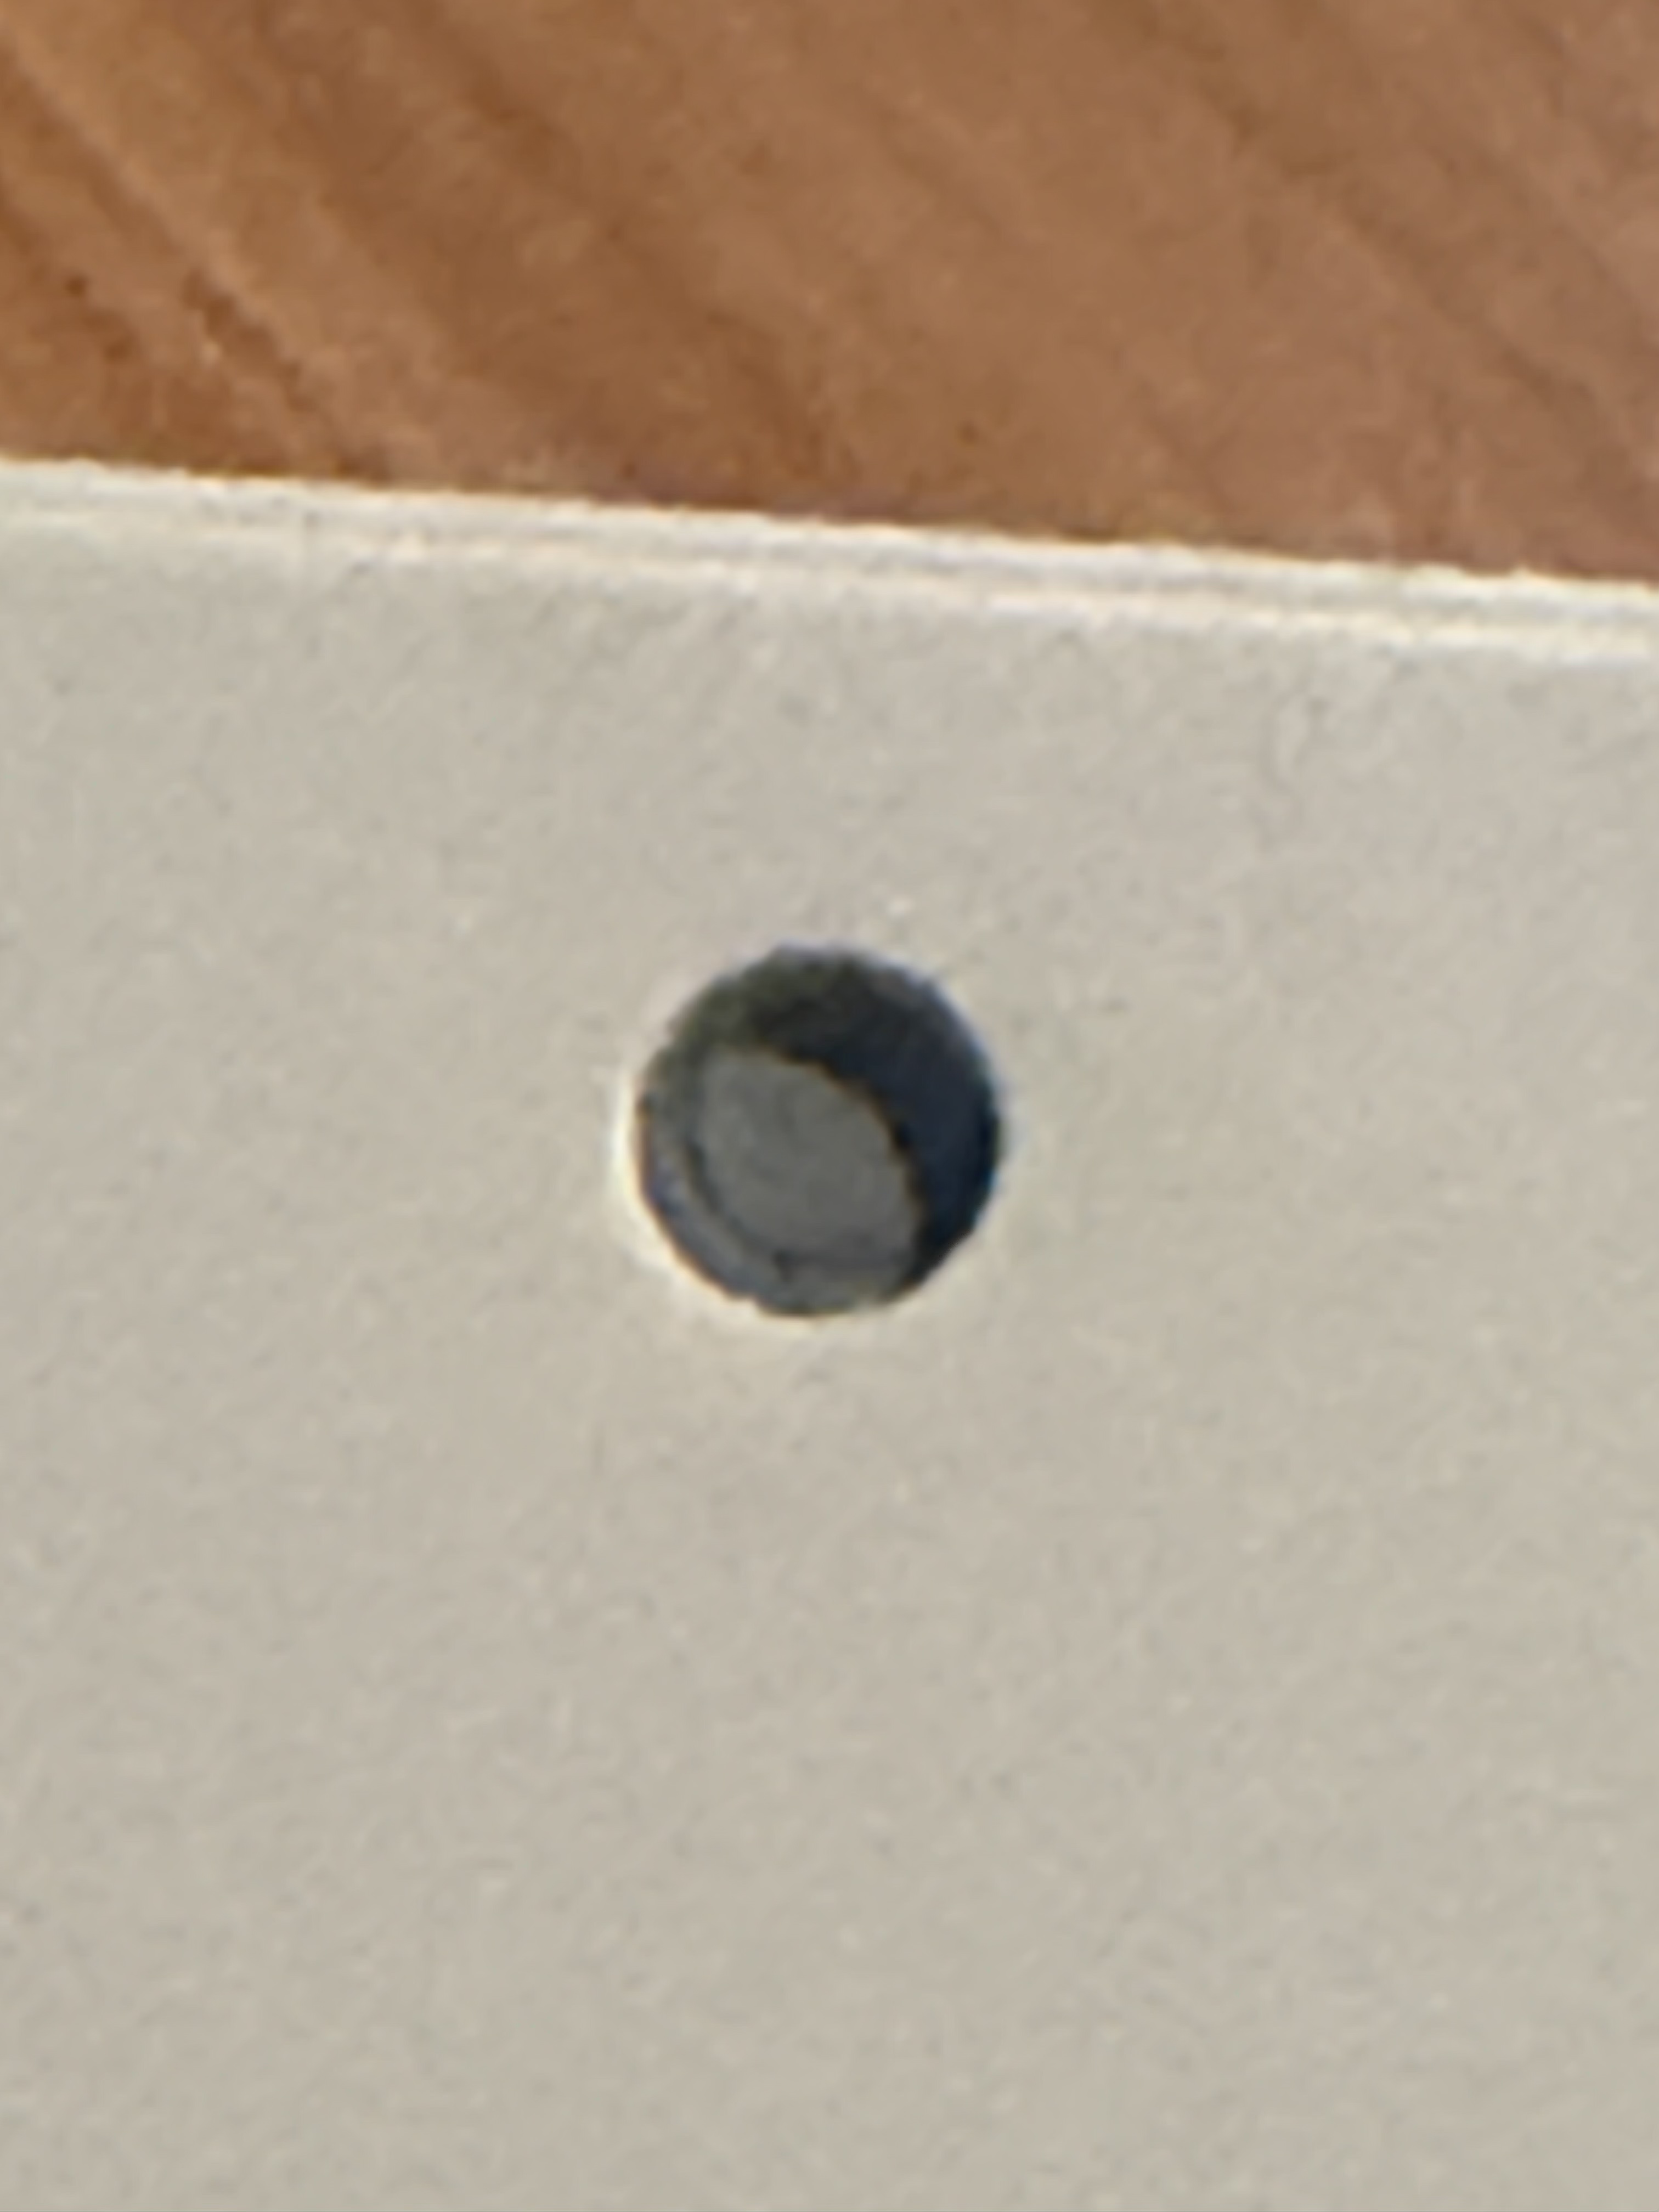
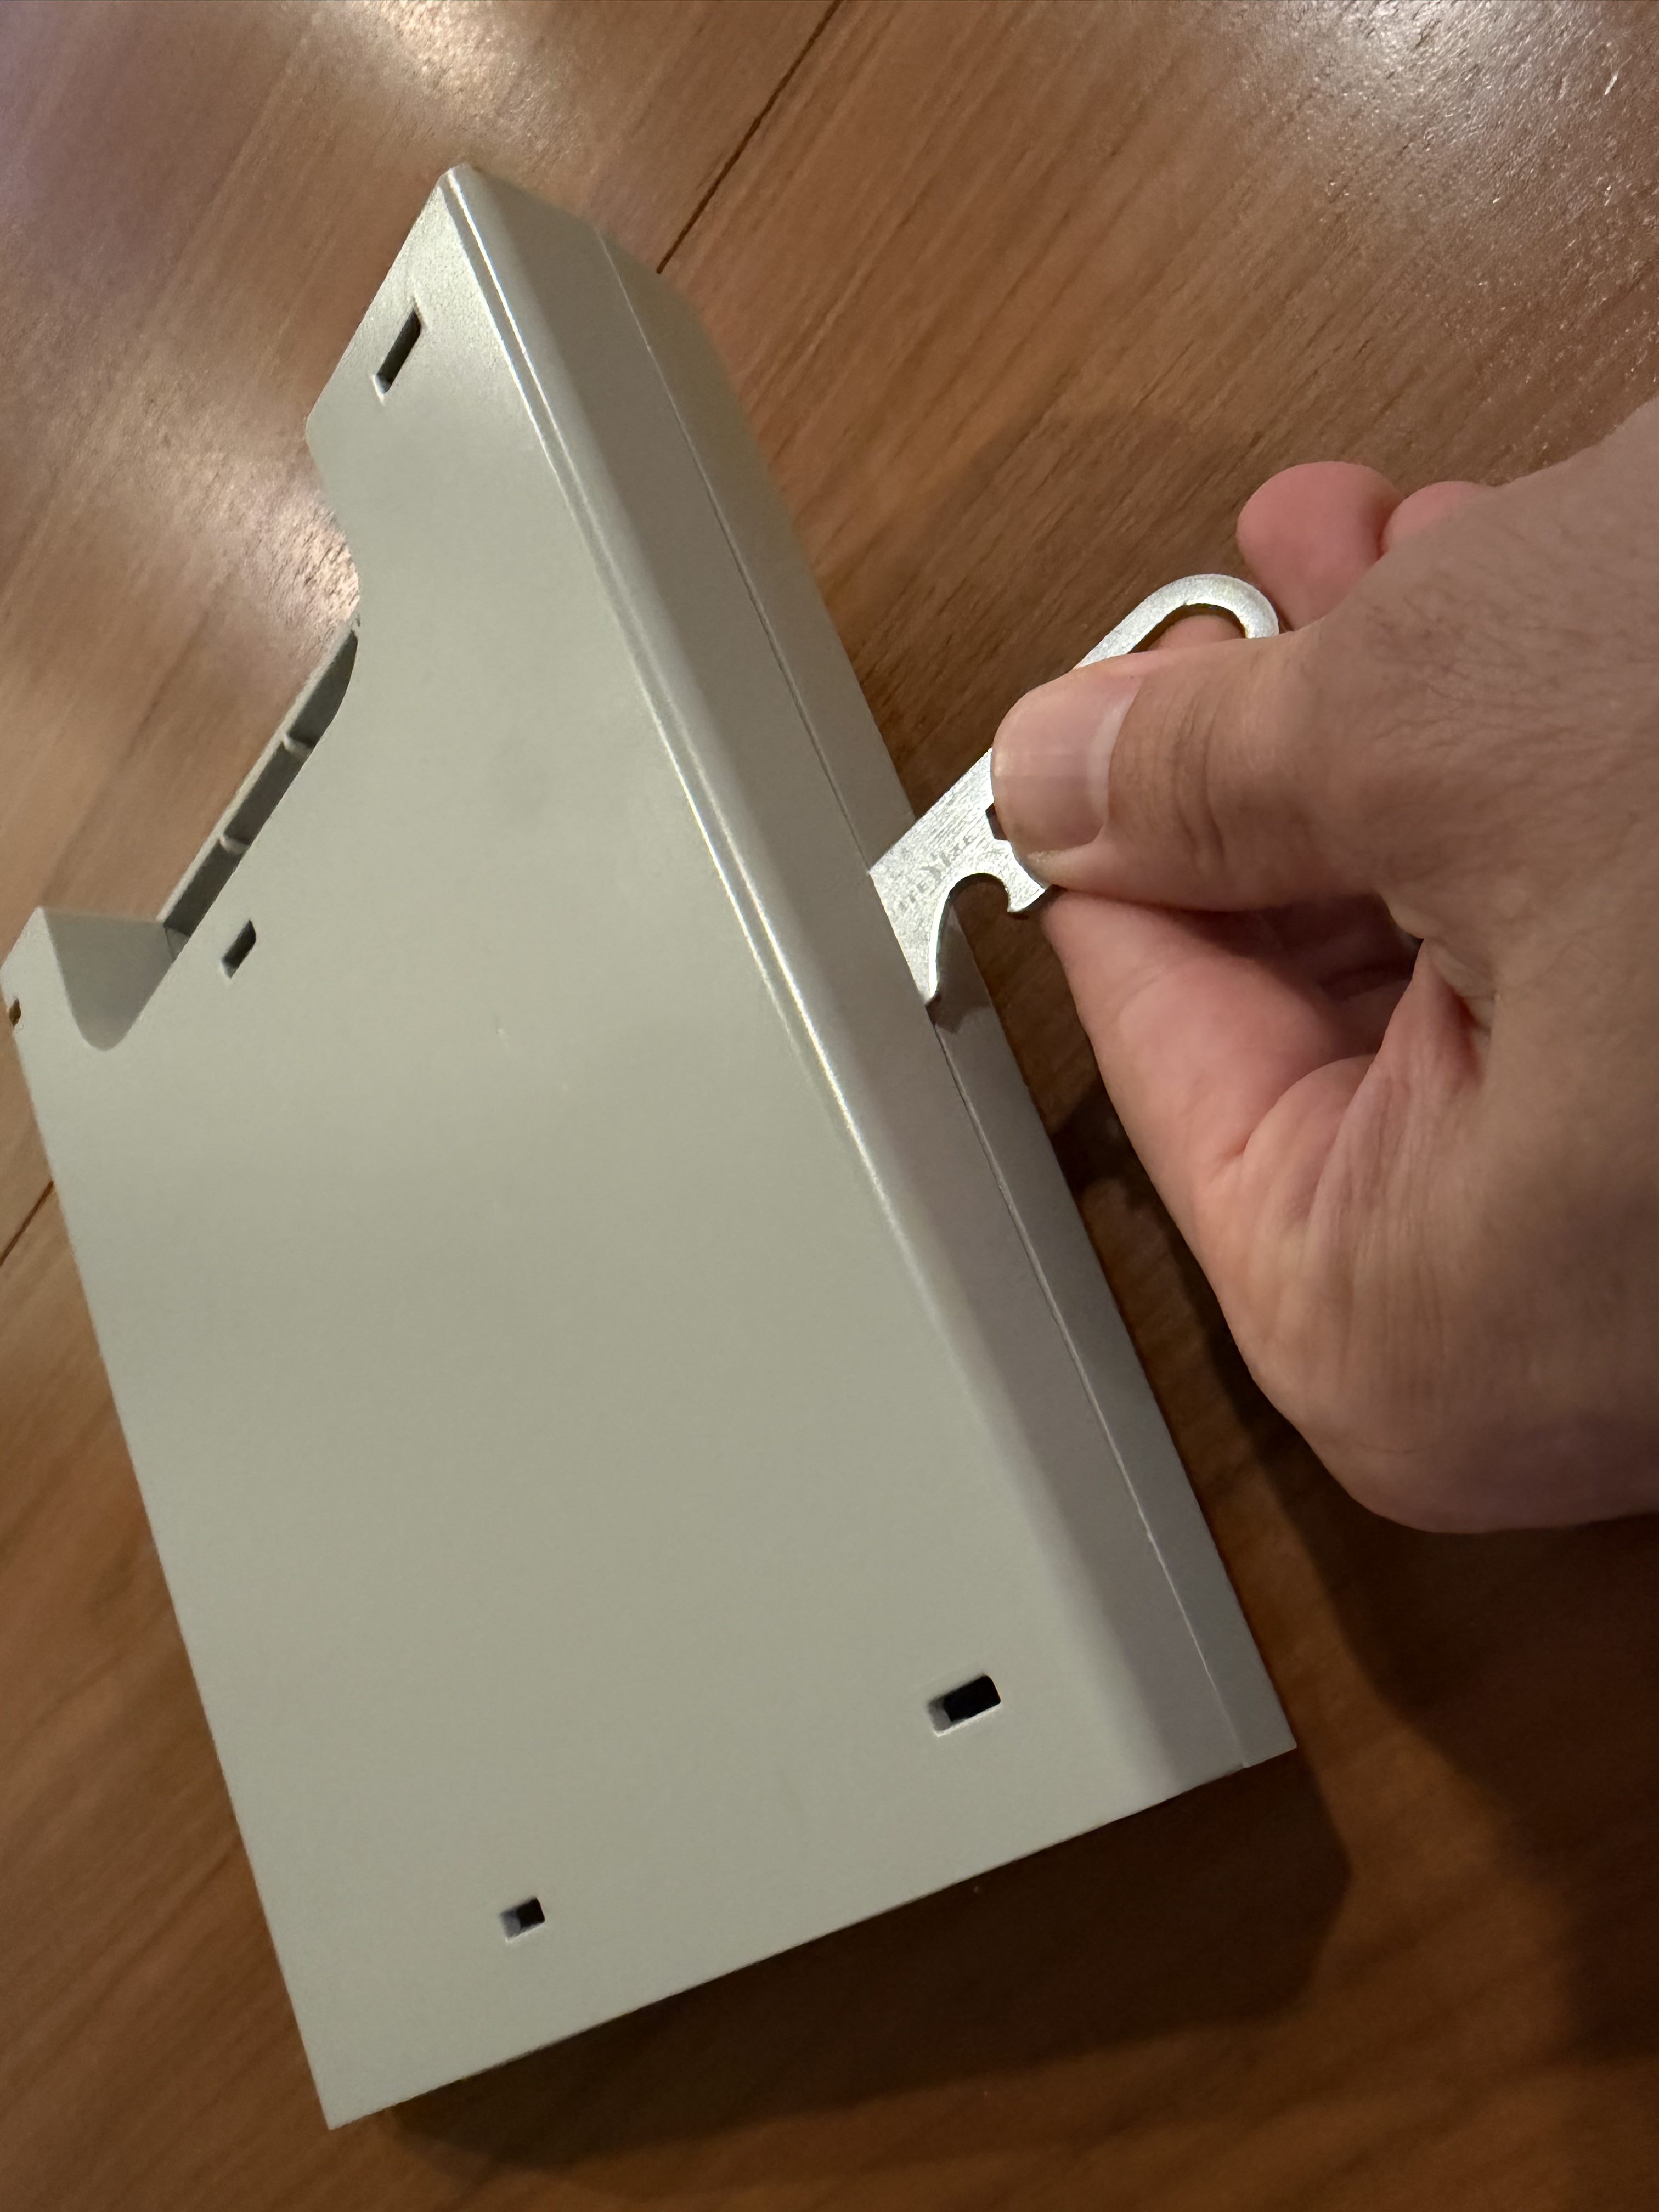
  10. To reuse the cartridge, insert a flat surface (e.g. wide flathead screwdriver) in the half to pry it open. To pry open more easily, carefully move the flat surface inside the the cartrdige to make sure the intrface points snap off. Remove old pouches and repeat steps 1–9. Step 10 - Prying open the cartridge Step 10 - Cartridge pried open
🛒

Parts List

All components available on Amazon. Click to purchase.

  • Top Cover (Front) 3D Printed — see STEP files
  • Bottom Cover (Back) 3D Printed — see STEP files
  • Pouches (4x) Amazon →
  • Tubing Sleeve Amazon →
  • Rubber Stoppers (4x) Amazon →
  • CALiMAGic (General Hydroponics) Amazon →
  • Flora Grow Series (Grow/Bloom/Micro) Amazon →
🖨️

3D Print Files (STEP)

Print the cartridge housing at home. Download the STEP files and convert/slice for your printer.

Build Your Own Grow Pod Components

Replace worn parts or build spares. Your Annaboto was designed to last — these resources help you keep it going.

📋

Instructions

How to set up and replace grow pod components.

  1. Print or reuse an old plastic pod, but clean it with warm water and soap.
  2. Insert the grow medium with the hole on the top.
  3. Insert a seed in the hole.
  4. Place some clay pebbles on the top of the sponge.
  5. Place Humidity dome on top of the pebbles.
  6. Start a grow!
🖨️ Print Instructions (B/W)
🛒

Parts List

Replacement components available on Amazon.

🖨️

3D Print Files (STEP)

Print the grow pod at home. Download the STEP file and convert/slice for your printer.

Support & Knowledge Base

Browse our full library of help articles. Find answers to common questions, troubleshooting guides, and growing tips.

⚠️ Please Note: Annaboto is no longer operating and this resource is not monitored. No one will respond to support requests. This knowledge base is provided as a self-service resource for existing owners.